firebase • authentication • javascript
Firestore and Authentication
by Steve Marx on
Firebase Authentication makes it easy to add user identities to your app. When combined with Firestore, it can help to secure user data.
In my last post about Firestore, I built a Firestore demo that used pure public data. In this post, I’ll show you the basics of Firestore Authentication and how you can combine it with Firestore security rules to implement user-owned data.
New High Score
The example I’ve built for this post is called New High Score. Every time you click on your score, it increases by one. By logging in with an email address and password, users can continue their game from a different device.
Another mind-blowing demo from the creative genius behind Toggle With Friends.
As in the last post, I’ll be focusing on the web even though Firebase is cross-platform.
Firestore data
Every New High Score player has their own personal game. I’ve modeled this by having a collection called “games”, containing one document per player. Each document has a single field named “score”. The documents are named with each player’s user ID, which I’ll get to in the next section when I introduce authentication.
<database>
 └─games
    ├─user1
    │  └─score: 123
    ├─user2
    |  └─score: 456
    ...
Here’s where data is read from Firestore:
const db = firebase.firestore();
let unsubscribe = null;

// ...

if (unsubscribe !== null) {
    unsubscribe();
    unsubscribe = null;
}

const doc = db.collection("games").doc(user.uid);
unsubscribe = doc.onSnapshot((snapshot) => {
    if (snapshot.data()) {
        score = snapshot.data().score;
    } else {
        score = 0;
    }

    updateUI();
});
This should look pretty familiar if you read my last post, except for two things:
- The variable
unsubscribecaptures the return value ofonSnapshot(). That return value is a function that can be invoked to unsubscribe from future changes to that query. When a user switches accounts, I need to be able to unsubscribe from the old query and subscribe to a new one. user.uidis new. In the next section, I’ll show where that comes from, but it’s just the ID of the current logged-in user.
Here’s where data is written:
const doc = db.collection("games").doc(auth.currentUser.uid);
doc.set({
    score: score + 1,
});
auth.currentUser.uid is just a way to get the current user ID.
Firebase Authentication
Firebase Authentication is a slick service for user identity management. It handles creating accounts, logging users in and out, verifying email addresses, and resetting passwords via an emailed link. There’s even prebuilt UI in the form of FirebaseUI Auth (web version here), although I’ve chosen for this post to handle the UI myself.
Setup
To get started with Firebase Authentication:
- Choose the “Authentication” service when setting up your project with
firebase init. - Include the following script tag in your HTML:
<script defer src="/__/firebase/8.2.1/firebase-auth.js"></script> - Initialize the auth service with the following JavaScript:
const auth = firebase.auth()
For using the local emulators, the above is sufficient. But for production use, you need to enable the providers you’re using via https://console.firebase.google.com/project/_/authentication.
Auth providers
Firebase Authentication supports five different auth providers:
- Anonymous accounts are created on the fly. They can be persisted on the user’s device, but they don’t have any associated credentials, so there’s no way to log in to them from another device. This is useful for “guest” accounts before the user commits to creating a full-blown account.
- Email/password authentication is exactly what they sound like. Users log in by providing an email address and password. You can also enable “passwordless” login via an emailed link.
- Federated authentication is linked to identity providers like Google, Apple, Facebook, and Twitter. This is the typical “social login”.
- Phone number authentication is via a text message sent to the user’s phone.
- Custom authentication uses your own server-side code to authenticate a user. Your server signs a JSON Web Token (JWT) with the ID of the user you’ve authenticated, and then the user can present this token to Firebase to log in.
In the example app, I’m using anonymous accounts so users can immediately play the game, and then I’m using email/password authentication if the user wants the ability to resume their game on another device.
Listening for authentication changes
Just like you can subscribe to changes to data in Firestore with onSnapshot(), you can subscribe to authentication changes with onAuthStateChanged():
const auth = firebase.auth();

auth.onAuthStateChanged((user) => {
    if (user === null) {
        // No logged in user
    }
});
This callback will be invoked at least once. If the user is already logged in because they have a locally persisted identity, the argument to the callback will be non-null. Otherwise, the argument will be null. The callback is then invoked any time the user logs in to or logs out of an account.
The parameter to the callback is a firebase.User. Two of this class’s fields I used in the example app are isAnonymous and email.
Logging in
Logging a user in to an anonymous account is as simple as this:
await auth.signInAnonymously();
This method creates a new anonymous account and logs the user in. It should only fail if your project doesn’t have anonymous accounts enabled.
Tip: just-in-time anonymous accounts
Resist the temptation to call signInAnonymously() immediately on page load. Creating an account, even an anonymous one, adds a new user on the server, so it should only be done when needed.
Instead, wait until the user actually does something before creating the account. In the example code, I sign the user in anonymously only the first time they increment their score:
async function incrementScore() {
    if (auth.currentUser === null) {
        await auth.signInAnonymously();
    }

    const doc = db.collection("games").doc(auth.currentUser.uid);
    doc.set({
        score: score + 1,
    });
}
Logging in with a username and password is much the same:
try {
    await auth.signInWithEmailAndPassword(email, password);
} catch (error) {
    // Be sure to handle these errors!
}
This method can fail with a number of different errors, which are outlined in the reference documentation. Signing in via email/password is only possible if the account already exists. You can create such an account with createUserWithEmailAndPassword(), which both creates the account and logs the user in.
But you can also upgrade an existing anonymous account by adding an email and password to it.
Upgrading anonymous accounts
Anonymous accounts are only useful for local persistence because they don’t have any associated credentials. In other words, it’s impossible to log in to a specific anonymous account. This can be changed by linking credentials to the anonymous account. This same mechanism can be used to add more credentials to an existing account. For example, if a user originally logged in with an email/password combination, but they would like to be able to log in via GitHub in the future, you can authenticate via GitHub and add those credentials to their existing account.
In the example app, createUser() either creates a new user or upgrades an existing anonymous account by adding new credentials to it:
async function createUser(email, password) {
    if (auth.currentUser !== null) {
        const credential = firebase.auth.EmailAuthProvider.credential(
            email,
            password,
        );

        return await auth.currentUser.linkWithCredential(credential);
    } else {
        return await auth.createUserWithEmailAndPassword(email, password);
    }
}
Note that because the user is still logged in with the same account, the callback provided to onAuthStateChanged() is not invoked.
Logging a user out
Logging a user out cannot throw an exception:
function logout() {
    auth.signOut();
}
Using authentication in Firestore security rules
Now that users have authenticated accounts, I can use those to restrict access to documents. One of the fields available in Firestore security rules is request.auth. This contains information about the authenticated user who is requesting to read or write data. The ID of the authenticated user is held in request.auth.uid.
Recall that the data model for the example app names documents after user IDs. This makes it easy to check that the user making a change is authorized to do so:
match /games/{document=**} {
    allow read;
    allow write: if request.resource.id == request.auth.uid;
It’s also common to put permissions in fields. For example, you might use allow update: if resource.owner == request.auth.id to check that only the owner of a document can make changes.
Note that the above rules do not lock down read access. Anyone can read any document in the “games” collection. (Maybe in a future post I’ll add a leaderboard!)
Bonus security rules
With just the above rules, each user is confined to a single document, but they can write arbitrary things there. This could be abused in two ways. First, the user could write a lot of data at my expense. Second, the user could cheat in their game by just writing in a big high score.
Here are the full rules I used for the example app:
rules_version = '2';
service cloud.firestore {
    match /databases/{database}/documents {
        match /games/{document=**} {
            allow read;
            allow create: if request.resource.id == request.auth.uid
                && request.resource.data.keys().hasOnly(["score"])
                && request.resource.data.score == 1;
            allow update: if request.resource.id == request.auth.uid
                && request.resource.data.keys().hasOnly(["score"])
                && request.resource.data.score == resource.data.score + 1;
        }
    }
}
With these rules, game documents can only contain numeric scores. The score is required to be 1 on document creation. (A zero score is represented by the lack of a document.) Each update to a game can only increase the score by 1.
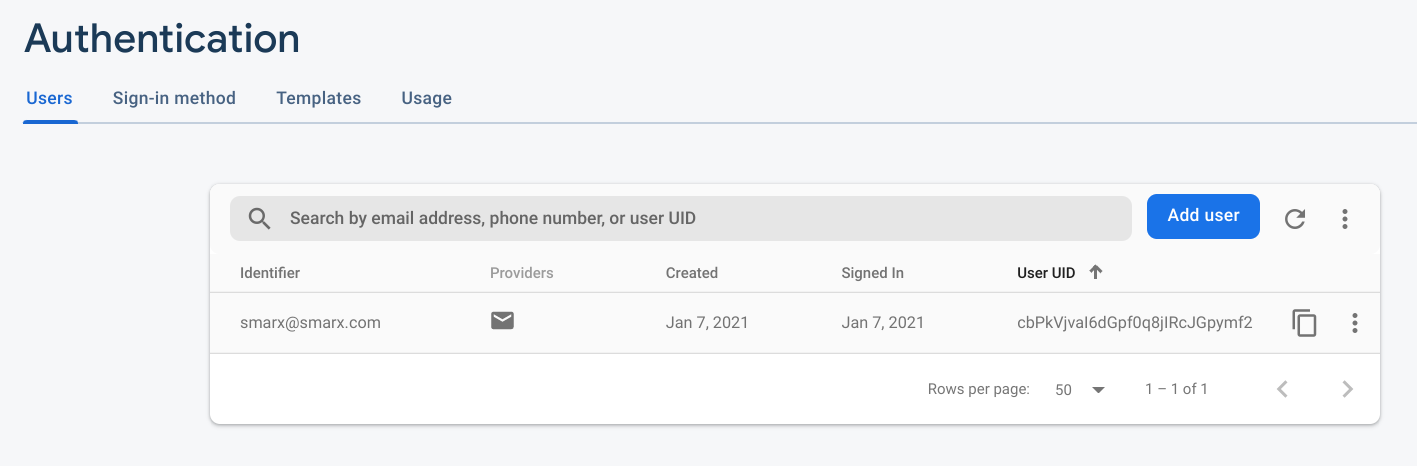
Firebase Authentication admin interface
Firebase Authentication also provides a web interface for managing user accounts. This is useful when testing an app, but it’s also useful in a production app to disable accounts or assist with password resets.
Summary
- Firebase Authentication helps you to manage user identities.
- Email/password, social logins, and custom back ends can be used to log users in.
- Anonymous users are supported, along with upgrading those accounts to use other auth providers.
- Applications can subscribe to authentication changes.
- Firebase provides an admin interface for manual account management.
Further reading
The Firebase Authentication documentation is a good place to go if you want to dig deeper. And be sure to subscribe to this blog for more posts in this series!
Abridged source code
To read the full source code, please just view the page source on https://new-high-score.web.app.
The most relevant parts of the code can be found below:
const db = firebase.firestore();
const auth = firebase.auth();
let unsubscribe = null;
let score = 0;

auth.onAuthStateChanged(async (user) => {
    if (unsubscribe !== null) {
        unsubscribe();
        unsubscribe = null;
    }

    if (user !== null) {
        const doc = db.collection("games").doc(user.uid);
        unsubscribe = doc.onSnapshot((snapshot) => {
            if (snapshot.data()) {
                score = snapshot.data().score;
            } else {
                score = 0;
            }

            updateUI();
        });
    } else {
        score = 0;
        updateUI();
    }
});

async function incrementScore() {
    if (auth.currentUser === null) {
        await auth.signInAnonymously();
    }

    const doc = db.collection("games").doc(auth.currentUser.uid);
    doc.set({
        score: score + 1,
    });
}

async function createUser(email, password) {
    if (auth.currentUser !== null) {
        const credential = firebase.auth.EmailAuthProvider.credential(
            email,
            password,
        );

        return await auth.currentUser.linkWithCredential(credential);
    } else {
        return await auth.createUserWithEmailAndPassword(email, password);
    }
}

async function login(email, password) {
    return await auth.signInWithEmailAndPassword(email, password);
}

function logout() {
    auth.signOut();
}